Ask Stoll: How are Wall Panel Systems Installed?
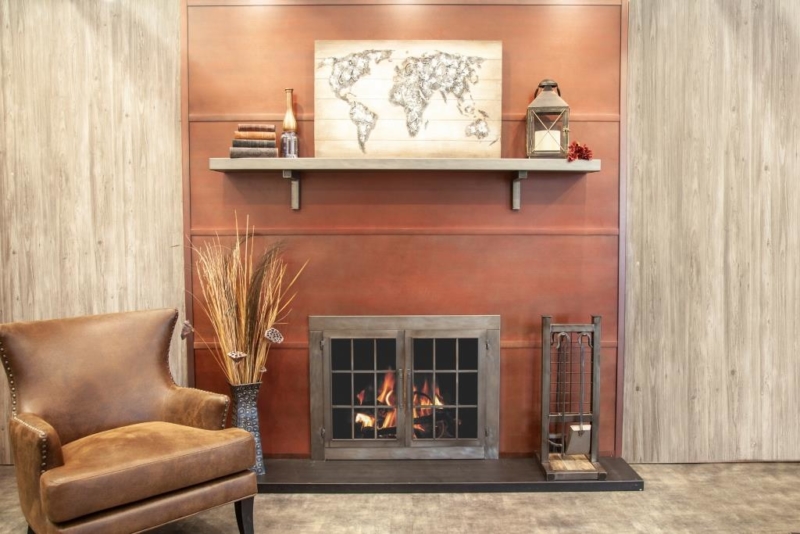
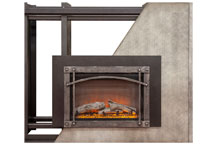
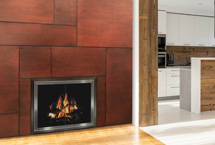
Stoll wall panel systems are custom-made to fit any wall. Metal wall panels are constructed of high-quality 11-gauge steel and can be installed in various formats—vertical, horizontal, tile, four-panel, and dimensional. The unique mounting system makes installation simple—even when installing Stoll wall panels over an existing brick surface. Your local Stoll dealer will arrange the installation of your walls, but here’s a brief overview of the installation process.
STEP 1
Position and level mounting brackets at the bottom of the wall. Locate studs and fasten brackets securely to wall.
STEP 2
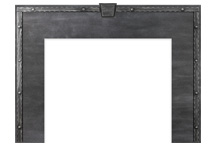
Install opening mounting bracket around the fireplace opening (if applicable).
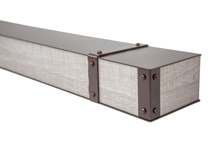
STEP 3
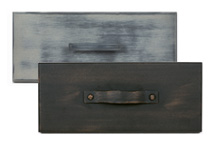
Install the first row of wall panels, referring to the numbers on the back, by placing the panel into the mounting bracket.
STEP 4
Install the next row of mounting brackets and fasten securely to the wall. Place panels into brackets.
STEP 5
Continue to install mounting brackets and panels until you reach the final row.
STEP 6
Install the final row and fasten with the pre-installed brackets located at the top of the panels.
STEP 7
Place magnets into the horizontal extrusions on the side and top of the wall.
STEP 8
Install numbered trim pieces to the sides and top of the wall.
STEP 9
Sit back and enjoy your beautiful new wall!
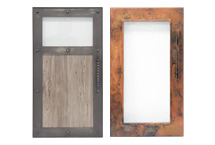
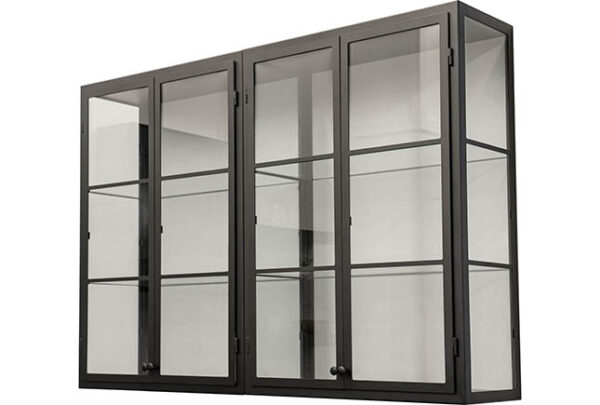
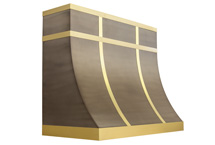
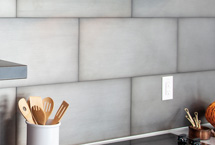
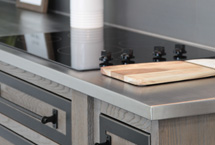
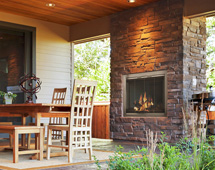
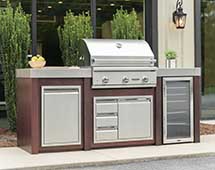
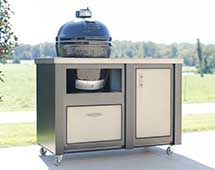
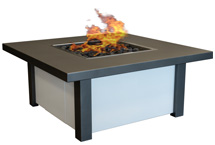
EXPLORE WALL PANEL SYSTEMS
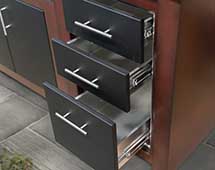
Decorative wall cladding is highly customizable and is adaptable for any room or setting. Traditionally used in fireplace settings, more and more people are using these wall panel systems for accent walls. Our weather-resistant aluminum system allows you to even install these wall panels outside. Be sure and check out our various finishes and material options, including glass and porcelain. No matter what design, finish, or material you choose, Stoll makes installation a breeze.